So, you have a Raspberry Pi, perhaps it's a little computer you use for fun, or maybe it helps run something important in your home or even for a small business. These tiny machines, from industries large and small, to the kitchen table tinkerer, to the classroom coder, really make computing accessible and affordable for just about anyone. But as you start to connect your Pi to the wider internet, a big question often pops up: how do you keep everything safe and private?
Well, that's where a "secure tunnel" comes into the picture, you know? It's a way to create a protected pathway for your data, making sure no one can snoop on what your Raspberry Pi is doing or what information it's sending. Think of it like building a private, locked road just for your Pi's traffic, keeping it away from the main, open highway where anyone might be watching.
This is especially true if you want to get to your Pi from outside your home network, or if you're hosting something like a website right from your living room. We'll look at how these tunnels work, why they're so helpful, and some common ways you can set one up on your very own Raspberry Pi, right now in 2023.
Table of Contents
- Why a Secure Tunnel for Your Raspberry Pi?
- Common Ways to Create a Raspberry Pi Secure Tunnel
- Setting Up Your Secure Tunnel: What You Need to Know
- Real-World Uses for Your Raspberry Pi Secure Tunnel
- Troubleshooting Common Secure Tunnel Issues
- Frequently Asked Questions About Raspberry Pi Secure Tunnels
- Keeping Your Raspberry Pi Secure: Beyond the Tunnel
Why a Secure Tunnel for Your Raspberry Pi?
When your Raspberry Pi is out there on the internet, it's a bit like putting a billboard up for everyone to see. Without a secure tunnel, anyone with the right tools and a little know-how could potentially peek at your traffic or even try to get inside your system. This is a big deal, especially if you're accessing sensitive files or controlling smart home devices.
One very practical reason for a secure tunnel is to get around firewall restrictions, you know? Many home networks have firewalls that block incoming connections, making it tough to reach your Pi from outside your house. A secure tunnel can often bypass these blocks by initiating an outgoing connection, which is usually allowed, and then creating a protected path back in. This connection gets forwarded through the tunnel, traffic is decrypted at the Raspberry Pi, completing the secure channel, which is pretty clever.
Another benefit is protecting your data from prying eyes. When you use a secure tunnel, all the information going to and from your Raspberry Pi gets scrambled, or encrypted. This encryption makes it much harder for malicious entities to snoop on your activities, keeping your personal projects and data safe. It's like sending a secret message in a code only your Pi knows how to read.
Common Ways to Create a Raspberry Pi Secure Tunnel
There are a few popular ways to set up a secure tunnel for your Raspberry Pi, each with its own good points. We'll look at some of the most common ones people use today. These methods allow you to access your Raspberry Pi remotely, providing secure and encrypted communication between different networks, which is really what we're after here.
SSH Tunnels: The Classic Approach
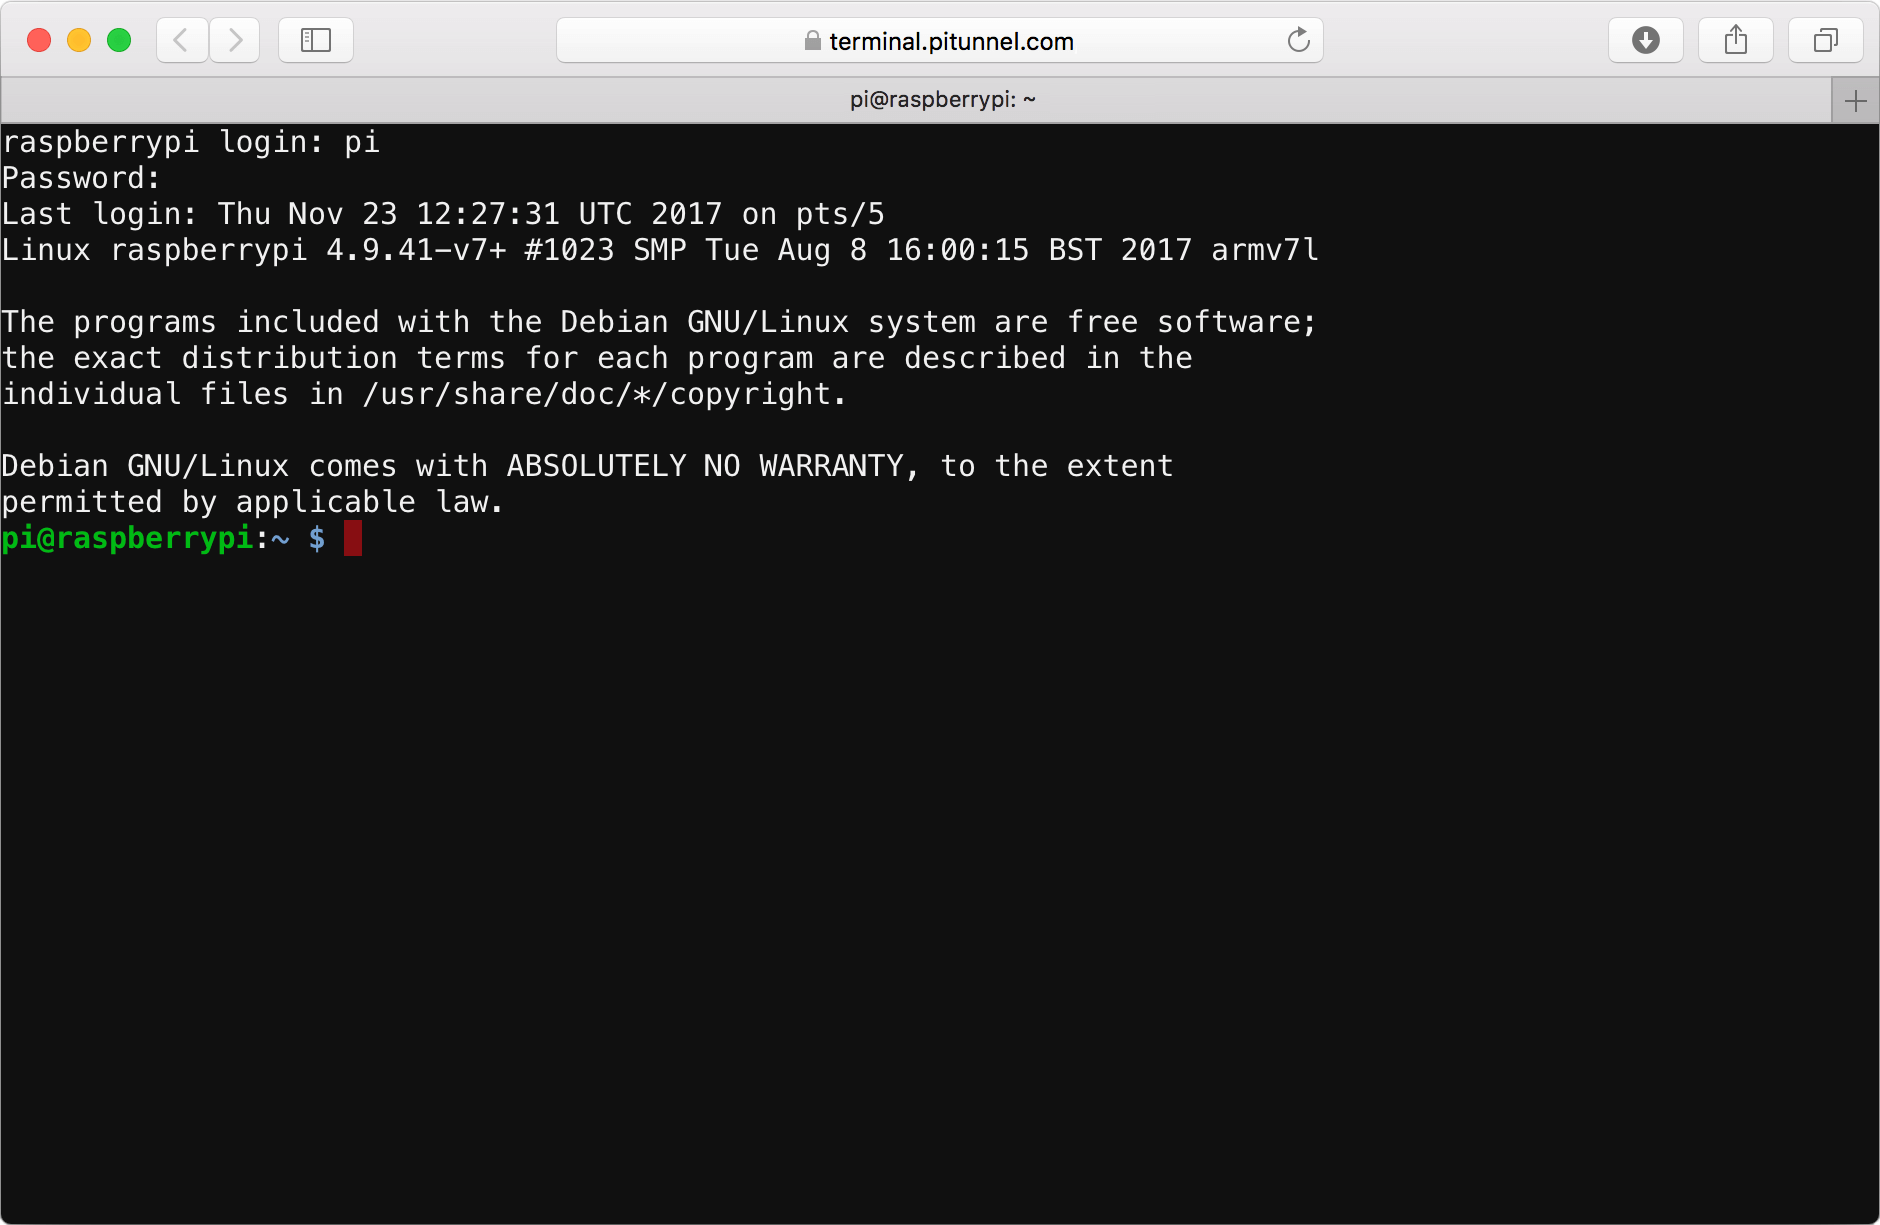
SSH, or Secure Shell, is a very common tool for connecting to your Raspberry Pi remotely, and it can also create secure tunnels. It's a cryptographic method that allows for secure, encrypted communication between two computers over an insecure network, you know? You can use it to forward network ports from one machine to another, essentially creating a private pathway for specific traffic.
For example, if you want to access a web service running on your Pi that's usually only available on your home network, an SSH tunnel can make it appear as if that service is running on your local computer. This means you can get to it safely from anywhere. It's quite useful for quick, temporary secure connections, or for reaching services that might otherwise be blocked by a firewall.
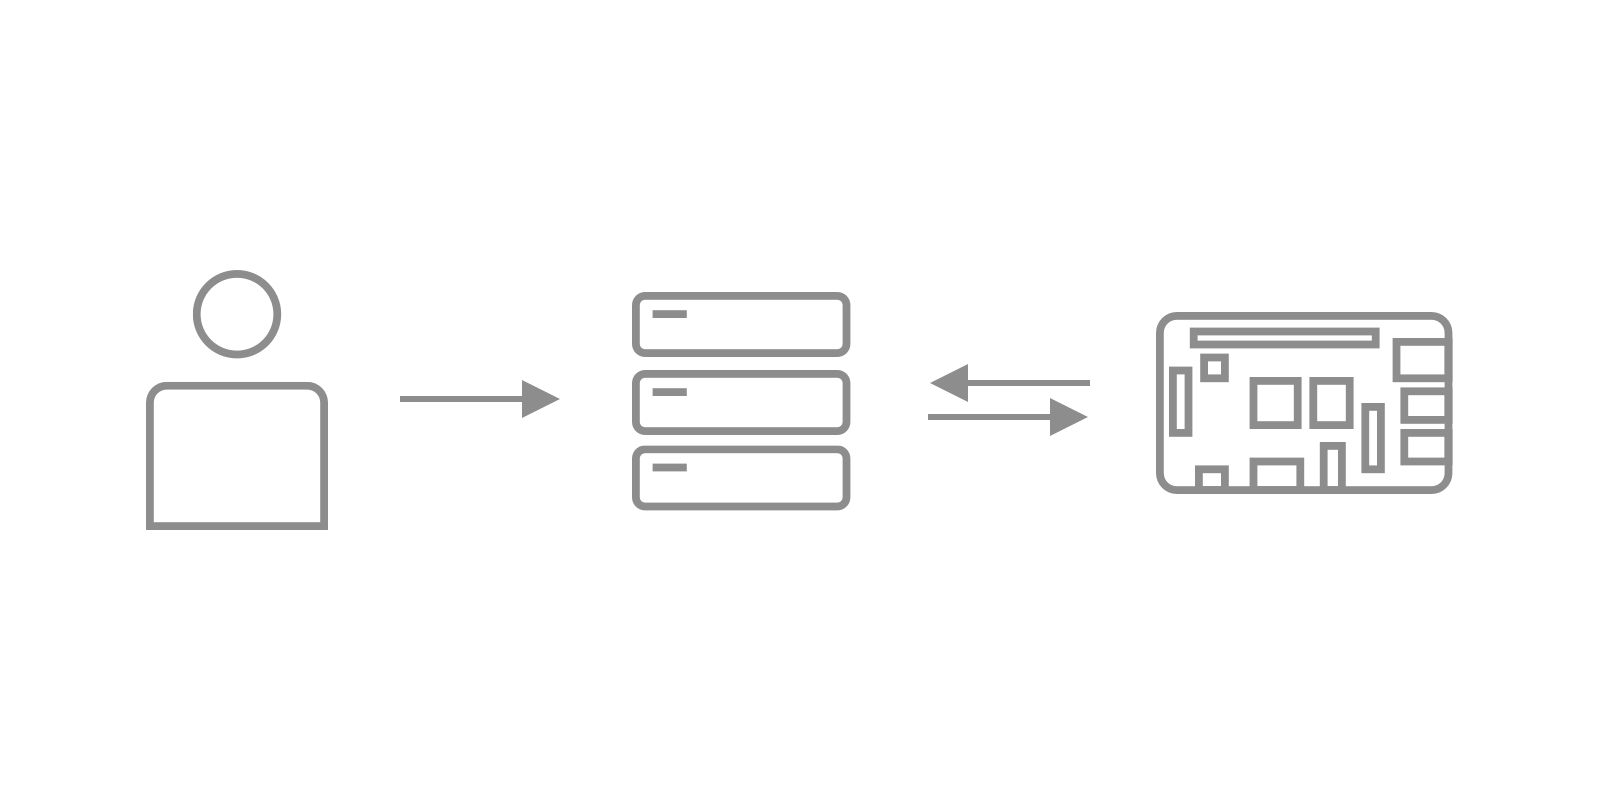
A particularly neat trick is a "reverse SSH tunnel." This method is super helpful if your Raspberry Pi is behind a strict firewall or a network address translation (NAT) setup, which is often the case with home internet connections. Instead of you connecting directly to your Pi, the Pi connects out to a third-party server first, creating a persistent tunnel. Then, you connect to that third-party server, and your connection gets forwarded through the tunnel to your Pi. This allows bypassing any firewall restrictions since the Pi initiates the connection, giving you secure remote access from anywhere in the world, even if you’re behind your ISP’s NAT, which is pretty cool.
VPN Servers: WireGuard and OpenVPN
Turning your Raspberry Pi into a VPN server is another fantastic way to create a secure tunnel. VPN stands for Virtual Private Network, and it creates a direct, encrypted connection between your device and your Raspberry Pi. By utilizing a VPN, you create a secure tunnel that encrypts all data going in and out of your Raspberry Pi, making it much harder for malicious entities to snoop on your activities.
Two very popular options for setting up a VPN server on a Raspberry Pi are WireGuard and OpenVPN. WireGuard is a relatively newer option, known for being fast and having a simpler setup compared to OpenVPN. It's often chosen for its efficiency and modern cryptographic principles. OpenVPN, on the other hand, has been around for a while and is very well-established, offering a high degree of flexibility and security, though it might take a bit more effort to get it running just right.
Learning how to turn your Raspberry Pi into a secure VPN server using either WireGuard or OpenVPN is a skill that gives you a lot of control over your network security. It means you can browse the internet as if you were at home, even when you're out and about, and all your traffic is protected by that secure tunnel. This is a great way to access your home network resources safely, and you know, it just feels good to have that extra layer of protection.
Cloudflare Tunnel: A Modern Solution
For those looking for a really straightforward and secure way to expose services running on their Raspberry Pi to the internet without opening up ports on their router, Cloudflare Tunnel is a fantastic choice. It's a free service that creates a secure, outgoing-only connection from your Raspberry Pi to Cloudflare's network. This means you don't need to mess with port forwarding or dynamic DNS, which can be a bit of a headache for many people.
This service is especially popular for securely hosting multiple websites from home using a Raspberry Pi, perhaps even a Raspberry Pi 5 with something like aapanel, and of course, Cloudflare Tunnel. You can use it to host a secure WordPress site on your Raspberry Pi, making it accessible to the world without exposing your home IP address directly. The tunnel handles all the secure connections, and your services appear to be hosted directly on Cloudflare's global network.
One of the best things about Cloudflare Tunnel is how easy it is to set up for continuous access. After a little bit of configuration, you can use a command like `sudo systemctl start cloudflared` to get it going. Then, your Cloudflare Tunnel will automatically start whenever your Raspberry Pi boots up, ensuring continuous access to your services without any manual intervention. It's a really clean and secure way to get your Pi-hosted apps or websites online, and it takes a lot of the guesswork out of secure remote access.
Setting Up Your Secure Tunnel: What You Need to Know
Before you get started with setting up any secure tunnel on your Raspberry Pi, there are a few basic things you should keep in mind. First off, it's always a good idea to make sure your Raspberry Pi's operating system is completely up to date. This means running commands to update packages and ensure you have the latest security patches. After a lot of work updating packages and testing, the packages in public repositories can often be used to update your system, which is great for keeping things current.
Next, think about the initial security of your Pi itself. Improving the security of your Raspberry Pi is a critical task, especially when it is exposed to the internet. Out of the box, the Raspberry Pi’s main operating system is not very hardened against external threats, so you'll want to change default passwords and perhaps set up SSH key-based authentication. These steps provide a strong foundation before you even think about tunnels.
For some tunnel types, like VPNs or if you're directly exposing services, you might want to consider dynamic DNS. This helps if your home internet provider changes your public IP address often, as it links a consistent domain name to your ever-changing IP. However, with services like Cloudflare Tunnel, this often isn't needed, which is a nice perk. Remember, the official documentation for Raspberry Pi computers and microcontrollers is always a good place to check for specific setup guides, too.
Real-World Uses for Your Raspberry Pi Secure Tunnel
The Raspberry Pi, a compact and versatile computing device, is widely used for various projects, including web hosting, media centers, and home automation systems. When you add a secure tunnel to the mix, the possibilities really open up, you know? It transforms your little Pi into a powerful, accessible hub for all sorts of personal projects.
For instance, hosting your own website from home becomes much more practical and secure. Whether it's a personal blog, a family photo album, or even a small e-commerce site, a secure tunnel like Cloudflare Tunnel can make it available to the world without exposing your home network directly. This means you can run your own web server on a Raspberry Pi 5, for example, and feel pretty good about its safety.
Another common use is for remote access to your personal files or services. Maybe you have a media server running on your Pi, or a home automation system you want to check on while you're away. A secure tunnel, perhaps an SSH tunnel or a VPN, allows you to connect to these services as if you were sitting right at home, all while keeping your connection private and encrypted. This connection gets forwarded through the tunnel, traffic is decrypted at the Raspberry Pi, completing the secure channel, which is exactly what you want.
This allows you to access your Raspberry Pi from anywhere in the world, even if you’re behind your ISP’s NAT, making it incredibly flexible. It's a way to keep your digital life connected and secure, no matter where you are, and that's a pretty big deal for a small computer like the Raspberry Pi.
Troubleshooting Common Secure Tunnel Issues
Even with the best planning, sometimes things don't go perfectly when setting up a secure tunnel. It's a bit like building anything complex; you might hit a snag or two. One common issue people face is simply not being able to connect to their tunnel. This could be due to incorrect configuration files, or perhaps a typo in the IP address or port number. Double-checking every setting is usually the first step, you know?
Another frequent problem involves firewall restrictions. Even if you're using a tunnel type that's supposed to bypass firewalls, sometimes local network settings or even your internet service provider's rules can cause trouble. For example, some firewalls might block certain outgoing connections that the tunnel needs to establish. In these cases, it helps to check your router's firewall settings or consult with your ISP if you suspect they are blocking something.
Sometimes, the issue is with the service you're trying to access through the tunnel, rather than the tunnel itself. Make sure the service on your Raspberry Pi is actually running and listening on the correct port. For example, if you're trying to access a web server, confirm that the web server software is active. Learning how to install and configure SSH, create a secure tunnel, and troubleshoot connection issues on your Raspberry Pi is a valuable skill that often involves a bit of patience and careful checking.
Frequently Asked Questions About Raspberry Pi Secure Tunnels
Can a Raspberry Pi be a VPN server?
Yes, absolutely! You can indeed turn your Raspberry Pi into a VPN server using software like WireGuard or OpenVPN. This lets you create a secure, encrypted tunnel to your home network from anywhere, protecting your internet traffic and letting you access your home devices safely.
How do I remotely access my Raspberry Pi securely?
There are several good ways to remotely access your Raspberry Pi securely. You can use SSH tunnels for direct, encrypted connections, set up a VPN server on your Pi, or use modern services like Cloudflare Tunnel. Each method offers a secure pathway to control or access files on your Pi from afar, which is really handy.
Is Cloudflare Tunnel free for Raspberry Pi?
Yes, the Cloudflare Tunnel service has a free tier that is very useful for individuals and small projects, making it a great option for Raspberry Pi users. This free service allows you to securely host applications or websites from your Pi without needing to open ports on your router, which is pretty convenient.
Keeping Your Raspberry Pi Secure: Beyond the Tunnel
While setting up a secure tunnel for your Raspberry Pi is a big step towards better protection, it's just one piece of the puzzle. Improving the security of your Raspberry Pi is a critical task, especially when it is exposed to the internet. There are many other things you can do to keep your little computer safe and sound, you know?
For instance, always keep your Raspberry Pi OS up to date. The Raspberry Pi Foundation provides access to online coding resources and challenges that are free for everyone anywhere, and they also work hard on keeping the operating system current. Regular updates often include important security fixes, so running `sudo apt update` and `sudo apt upgrade` often is a very good habit to get into. This ensures you have the latest packages, which is pretty important.
Also, think about strong passwords for your user accounts, and maybe even disable password logins for SSH in favor of SSH keys. SSH keys are much more secure than passwords and can make it much harder for someone to guess their way into your Pi. You might also want to limit which users can log in remotely. For more information and guides on keeping your Pi safe, you could learn more about Raspberry Pi security on our site, or check out the official documentation. You could also link to this page to learn more about getting started with your Raspberry Pi computer and its security features. For comprehensive details on Raspberry Pi computers and microcontrollers, their official documentation is a really good resource.

Detail Author:
- Name : Miss Pinkie Hayes Jr.
- Username : christa48
- Email : lucas.hill@mosciski.biz
- Birthdate : 1975-01-25
- Address : 8697 Myrl Springs Suite 245 Myahside, MO 77836-8286
- Phone : +18474661540
- Company : Crooks, Dickinson and Hammes
- Job : Automotive Master Mechanic
- Bio : Expedita qui dicta vero iste aut aut. Ut quis iste cumque cupiditate consectetur facilis. Non et quas dolor cum autem.
Socials
instagram:
- url : https://instagram.com/heberlowe
- username : heberlowe
- bio : Qui cupiditate maiores aut. Dignissimos dolorum illum optio ea.
- followers : 3097
- following : 2786
linkedin:
- url : https://linkedin.com/in/heberlowe
- username : heberlowe
- bio : Deleniti qui libero aliquam accusantium.
- followers : 2790
- following : 2682
